Documentation
RuSh Notes is a minimal place for notes and to-do lists. Here is everything it can do.
01Getting started
Create an account with your email and a password of at least 8 characters, then sign in. Your notes are private to your account and are available on any browser you sign in from.
Your email address identifies your account and cannot be changed later.
02Writing notes
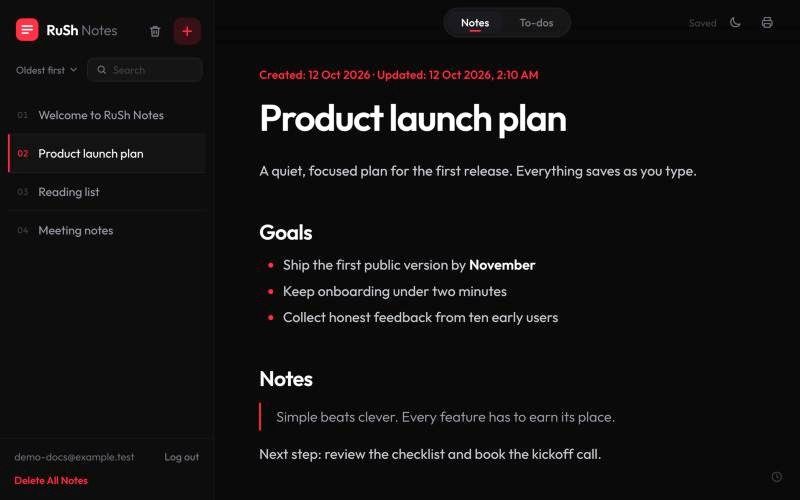
Click a note in the sidebar to open it. The first line is the big title, and everything below it is your content. Notes save by themselves, so there is nothing to press.
The red line above the title shows when the note was created and last updated.
03Creating a note or to-do list
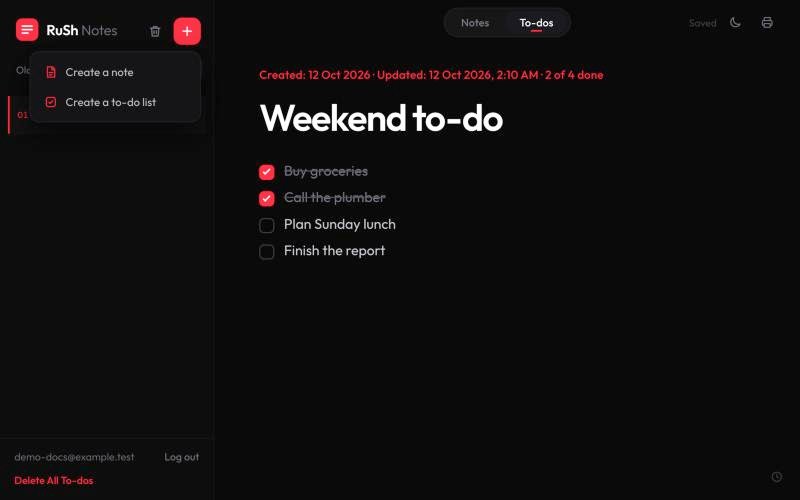
Click the red + at the top of the sidebar and choose what to create. The Notes and To-dos tabs at the top of the page switch between the two lists.
04Slash commands
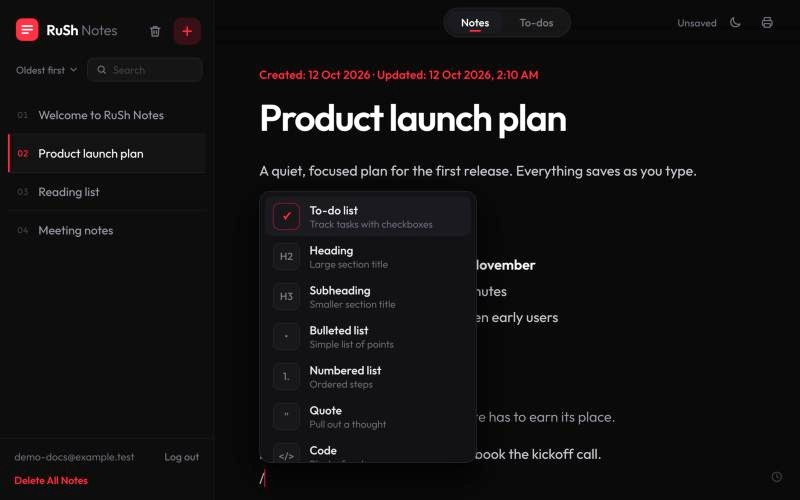
Type / on an empty line to open the block menu. Keep typing to filter it, use the arrow keys to move, and press Enter to choose.
- Heading and subheading
- Bulleted and numbered lists
- To-do list with checkboxes
- Quote, code block and divider
05Formatting text
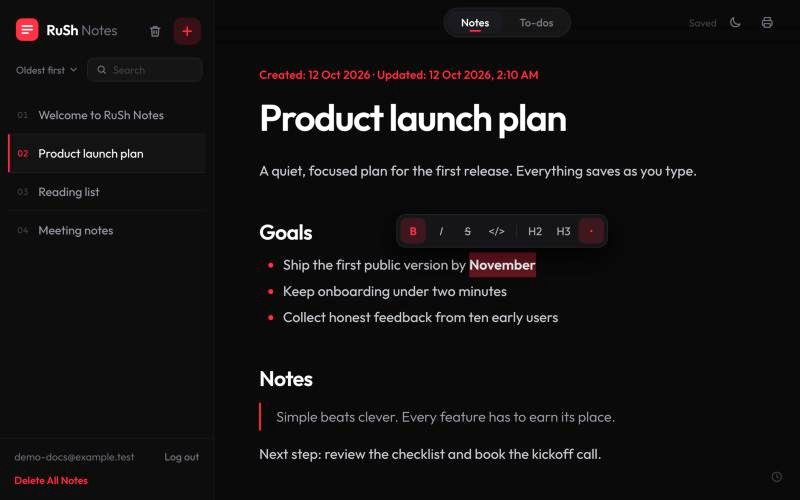
Select any text and a small bar appears with bold, italic, strikethrough, code, headings and bullet list. The usual shortcuts work too, such as Ctrl/⌘ + B for bold and Ctrl/⌘ + I for italic.
06To-do lists
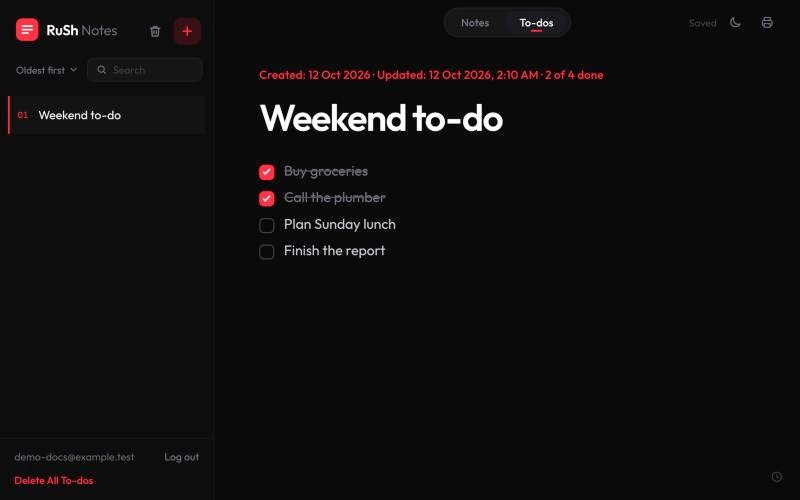
Every line in a to-do list is a task with a checkbox. Tick a task and its text is struck through but stays in place.
- Enter adds a new task below.
- Backspace on an empty task removes it and moves to the one above, so a line with text always keeps its checkbox.
- The red line above the title counts how many tasks are done.
07Autosave
Changes are saved as you type, and again every 50 seconds. The small label at the top right shows Saved or Unsaved. To save immediately, click the label or press Ctrl/⌘ + S.
08Sorting
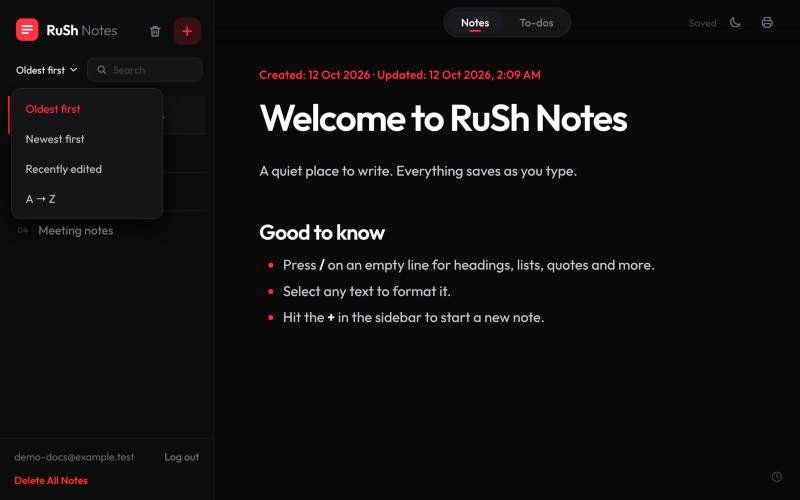
Notes are numbered in the sidebar, with new ones added at the bottom. Use the sort menu to change the order.
- Oldest first (default) and newest first
- Recently edited
- A to Z
09Search
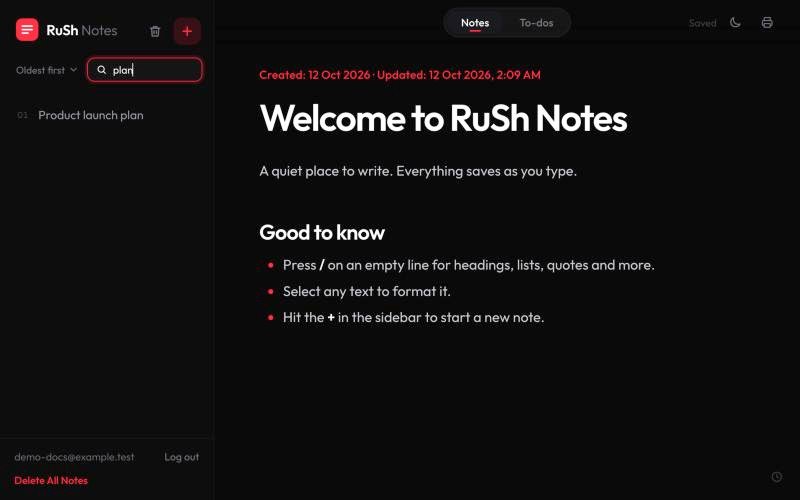
Type in the search box next to the sort menu to filter the list. It looks through note titles and the text inside notes, and clearing the box brings the full list back.
10Trash
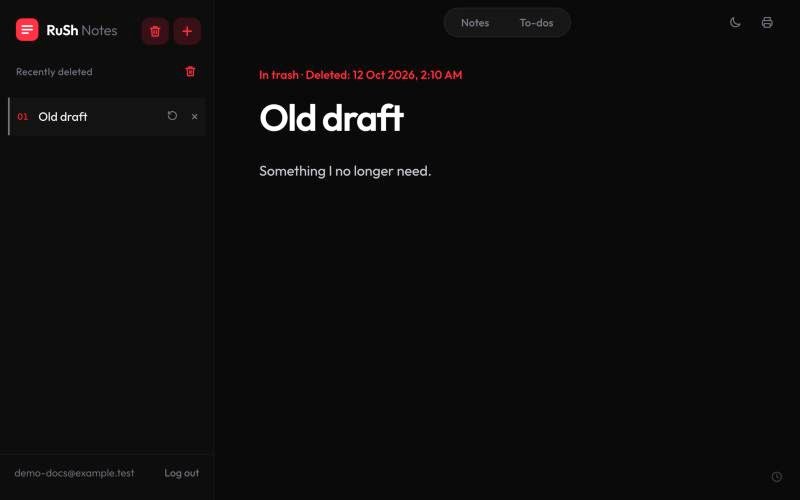
Deleting a note moves it to the trash instead of removing it. Click the trash icon at the top of the sidebar to see deleted notes. Each one can be previewed, restored or deleted forever.
Items stay in the trash for 30 days and are then removed automatically. The red bin icon next to Recently deleted empties the trash immediately, without asking for confirmation.
11Deleting several notes
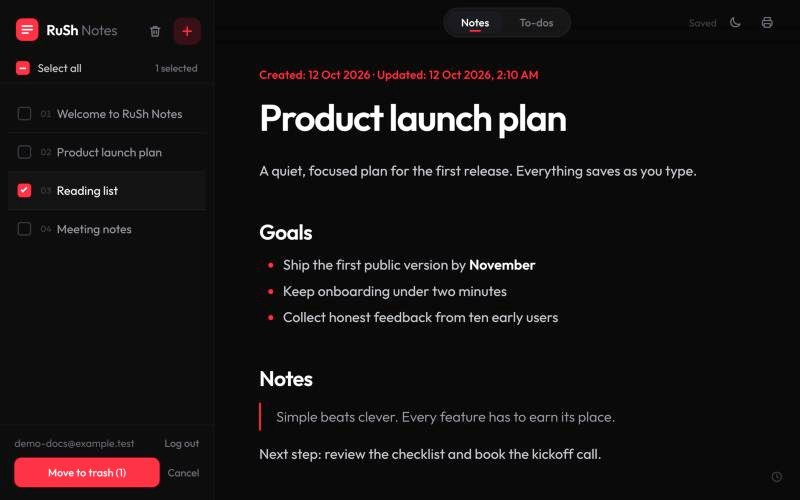
Click Delete All Notes at the bottom of the sidebar to show checkboxes. Tick the notes you want, or use Select all, then choose Move to trash. Nothing is erased for good until you empty the trash.
12Printing
Open a note and click the printer icon at the top right. The page is laid out for A4 with equal margins on a white background, whichever theme you use.
13Dark and light mode
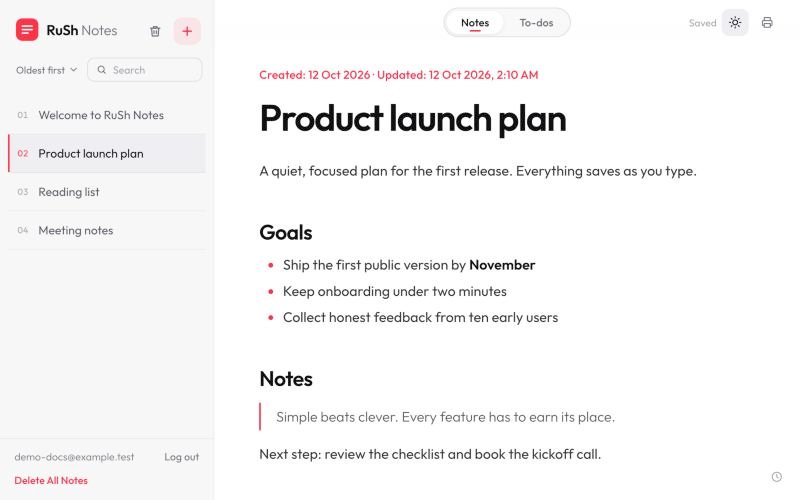
Click the moon or sun icon beside the printer icon to switch themes. You can also choose in Settings → Appearance. Your choice is saved to your account, so it follows you to every browser and device.
14Clock widget
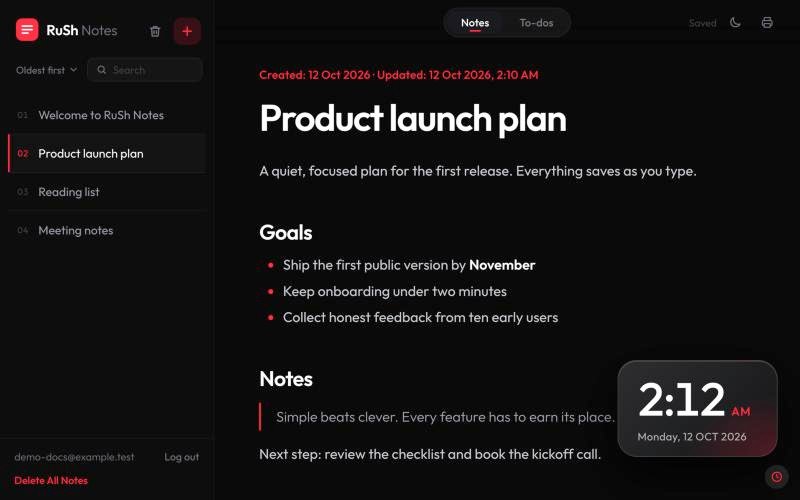
A small clock icon sits in the bottom-right corner. Click it to show or hide a glass clock with the time and date. It is off by default, and the app remembers your choice on that device.
15Your account
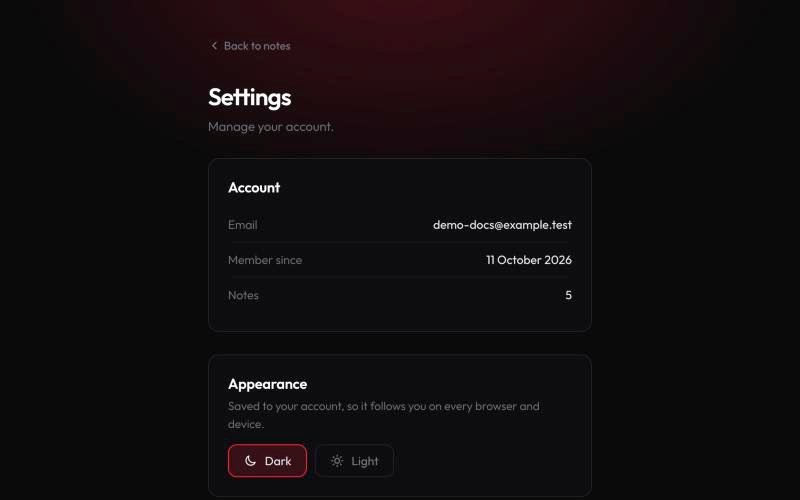
Click your email at the bottom of the sidebar to open Settings. There you can see your account details, switch theme, change your password, or delete your account.
Deleting your account permanently erases it together with every note, and this cannot be undone. You will be asked for your password and to type DELETE.